
Lincoln Nautilus: Accessory Charging / Wireless Accessory Charging Module (WACM). Removal and Installation
Lincoln Nautilus 2018-2026 Service Manual / Electrical / Battery and Charging System / Accessory Charging / Wireless Accessory Charging Module (WACM). Removal and Installation
Removal
NOTE: Removal steps in this procedure may contain installation details.
-
NOTE: If installing a new module, it is necessary to upload the module configuration information to the scan tool prior to removing the module. This information must be downloaded into the new module after installation. If installing a new module, it is necessary to upload the module configuration information to the scan tool prior to removing the module. This information must be downloaded into the new module after installation.
Using a diagnostic scan tool, begin the PMI process for the WACM following the on-screen instructions.
-
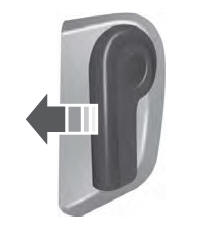
Fully open the floor console storage bin.
.jpg) |
-
Release the retainers and remove the trim panel.
-
Disconnect the electrical connector.
-
Disconnect the electrical connector.
.jpg) |
-
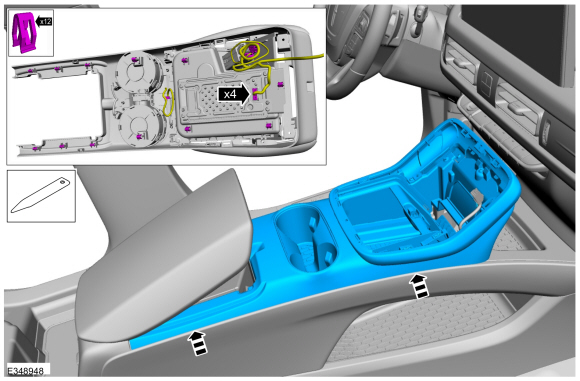
Release the retainers and remove the floor cosnole upper trim panel.
-
Disconnect the electrical connectors.
-
Disconnect the electrical connectors.
 |
-
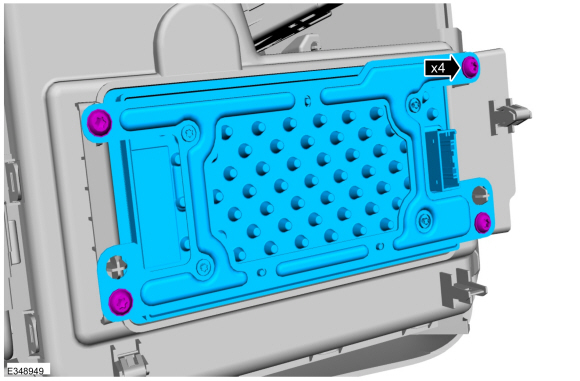
Remove the screws and the WACM
 |
Installation
-
To install, reverse the removal procedure.
-
NOTE: This step is only necessary if replacing the WACM .
Using a diagnostic scan tool, complete the PMI process for the WACM following the on-screen instructions.
 Wireless Accessory Charging Module (WACM). Diagnosis and Testing
Diagnostic Trouble Code (DTC) Chart
Diagnostics in this manual assume a certain skill level and knowledge of Ford-specific diagnostic practices. REFER to: Diagnostic Methods (100-00 General Information, Description and Operation)...

Other information:
Lincoln Nautilus 2018-2026 Service Manual: Specifications
Materials Name Specification Seam SealerTA-2-B, 3M™ 08308, LORD Fusor® 803DTM - Motorcraft® High Performance Engine RTV SiliconeTA-357 WSE-M4G323-A6 Motorcraft® Silicone Spray LubricantXL-6 ESR-M13P4-A Permatex® Trim and Weatherstrip Adhesive81850 - ..
Lincoln Nautilus 2018-2026 Service Manual: Vehicle Dynamic Suspension - System Operation and Component Description. Description and Operation
System Operation System Diagram Item Description 1 LH front valve solenoid 2 PSCM 3 PCM 4 ABS module 5 LH front height sensor 6 RH front height sensor 7 LH rear height sensor 8 RH rear height sensor 9 VDM 10 BCM 11 RH front valve solenoid 12 LH rear valve solenoid 13..
Categories
- Manuals Home
- 1st Generation Nautilus Owners Manual
- 1st Generation Nautilus Service Manual
- Locating the Pre-Collision Assist Sensors
- Changing the 12V Battery
- Interior Lamp Function. Adjusting the Instrument Panel Lighting Brightness. Ambient Lighting. Interior Lighting – Troubleshooting
- New on site
- Most important about car
Opening and Closing the Hood
Opening the Hood

Copyright © 2026 www.linautilus.com