
Lincoln Nautilus: Rear Suspension / Wheel Studs. Removal and Installation
Special Tool(s) / General Equipment
| Hydraulic Press |
Removal
-
Remove the wheel bearing and wheel hub.
Refer to: Wheel Bearing and Wheel Hub - AWD (204-02 Rear Suspension, Removal and Installation).
Refer to: Wheel Bearing and Wheel Hub - FWD (204-02 Rear Suspension, Removal and Installation).
-
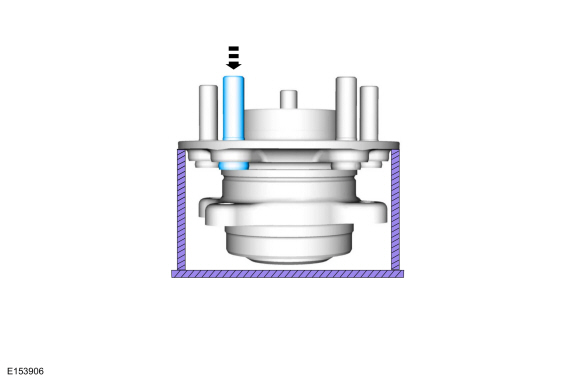
Press the wheel stud from the wheel bearing and wheel hub flange.
Use the General Equipment: Hydraulic Press
 |
-
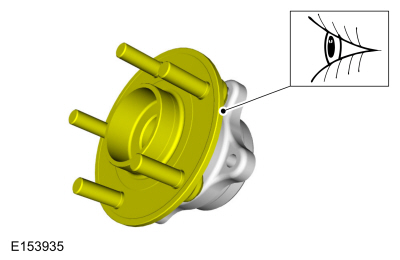
Inspect the wheel bearing and wheel hub flange for corrosion or damage. Replace as necessary.
 |
Installation
-
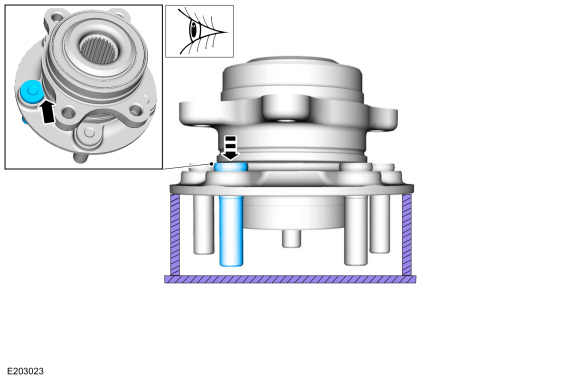
NOTE: The flat side of the wheel stud head must be facing the wheel bearing.
Press the wheel stud into the wheel bearing and wheel hub flange until fully seated.
Use the General Equipment: Hydraulic Press
 |
-
Install the wheel bearing and wheel hub.
Refer to: Wheel Bearing and Wheel Hub - AWD (204-02 Rear Suspension, Removal and Installation).
Refer to: Wheel Bearing and Wheel Hub - FWD (204-02 Rear Suspension, Removal and Installation).
 Wheel Knuckle - FWD. Removal and Installation
Special Tool(s) /
General Equipment
Vehicle/Axle Stands
Removal
NOTICE:
Suspension fasteners are critical parts that affect the
performance of vital components and systems...

Other information:
Lincoln Nautilus 2018-2026 Owners Manual: Automatic High Beam Control
How Does Automatic High Beam Control Work Automatic high beam control turns the high beams on if it is dark enough and no other traffic is present. If it detects an approaching vehicle’s headlamps or tail lamps, or street lighting ahead, the system turns the high beams off. A camera sensor, centrally mounted behind the windshield of your vehicle, continuously monitors conditions to turn t..
Lincoln Nautilus 2018-2026 Service Manual: Crankshaft End Play. General Procedures
General Equipment Dial indicator Dial indicator fixture NOTE: Refer to the appropriate Section 303-01 for the specification. Position the crankshaft to the rear of the cylinder block. Zero the Dial Indicator Gauge with Holding Fixture.Dial Indicator Move the crankshaft to the front of the cylinder block. Note and record the crankshaft end pla..
Categories
- Manuals Home
- 1st Generation Nautilus Owners Manual
- 1st Generation Nautilus Service Manual
- Massage Seats
- Power Outlet - Vehicles With: 110V Power Outlet
- USB Ports
- New on site
- Most important about car
Changing a Flat Tire
WARNING: If the tire pressure monitor sensor becomes damaged it may not function.
Note: The use of tire sealant may damage your tire pressure monitoring system and should only be used in roadside emergencies. If you must use a sealant, use the Tire Mobility Kit sealant. Replace the tire pressure monitoring system sensor and valve stem on the wheel by an authorized dealer after use of the sealant.
Note: The tire pressure monitoring system indicator light will illuminate when the spare tire is in use. To restore the full function of the monitoring system, all road wheels equipped with tire pressure monitoring sensors must be mounted on the vehicle.
If you get a flat tire while driving, do not apply the brake hea
